 Pin it
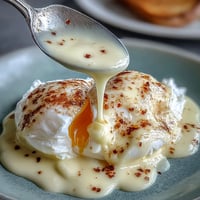
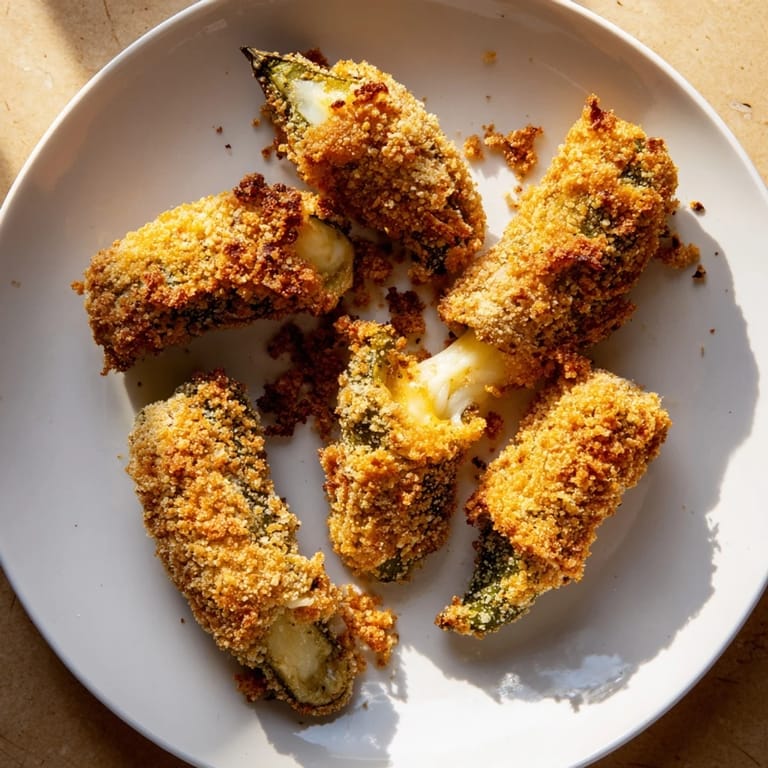
 I discovered these by accident at a neighborhood potluck when my friend Sarah showed up with a mysterious golden appetizer that disappeared in minutes. Everyone was asking what they were, and she just smiled and said crispy pickles with cheese, fried until they were practically addictive. The moment I bit into one—that salty pickle meeting gooey melted cheese and crunchy panko—I knew I had to figure out how to make them myself.
The first time I made a batch for my sister's birthday party, I was nervous about the toothpick method—seemed fiddly for something so casual. But watching people's faces light up when they bit into that contrast of cool tangy pickle and warm molten cheese made me understand why Sarah had been so secretive about her recipe. They vanished faster than the chips.
Ingredients
- Dill pickle spears: Pick large ones so you get substantial bites; patting them bone-dry is non-negotiable or the coating won't stick properly.
- Mozzarella, cheddar, provolone, or pepper jack cheese: Sliced cheese melts faster and more evenly than shredded, and it holds the pickle in place as you roll.
- Egg and milk: This mixture acts as your adhesive, helping the breadcrumb coating cling during frying.
- Gluten-free panko breadcrumbs: Panko creates that airy, extra-crispy texture; regular breadcrumbs work too if you're not avoiding gluten.
- Garlic powder and smoked paprika: These seasonings add depth without overpowering the pickle and cheese balance.
- Vegetable oil: You need enough to submerge the bites for that perfect golden-brown fry.
Tired of Takeout? 🥡
Get 10 meals you can make faster than delivery arrives. Seriously.
One email. No spam. Unsubscribe anytime.
Instructions
- Dry your pickles:
- Pat each spear thoroughly with paper towels until they feel almost crispy on the outside. Any moisture will cause the coating to slide right off in the hot oil.
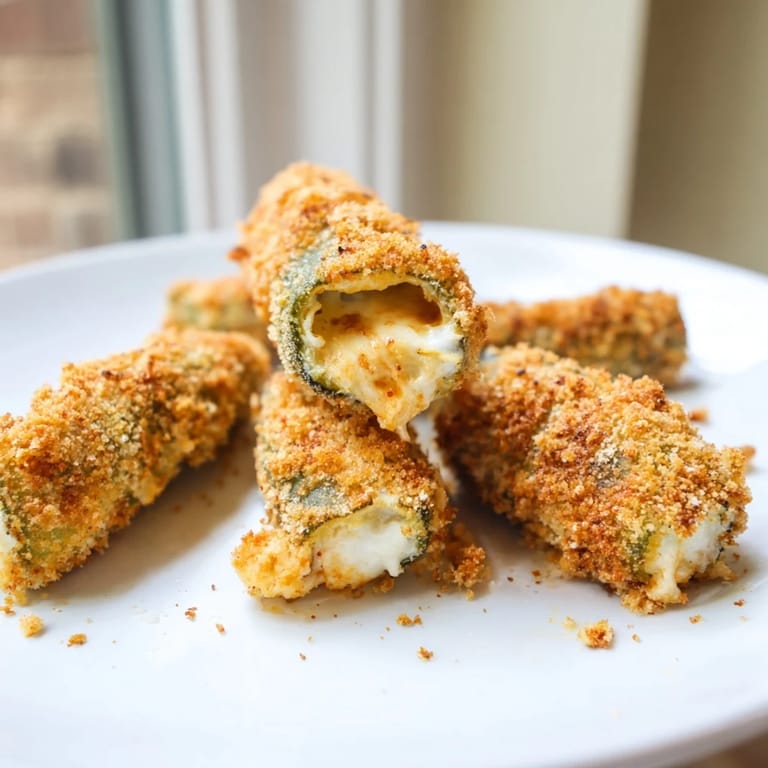
- Cut and wrap:
- Halve each spear crosswise, then wrap each piece tightly in a slice of cheese. If it's fighting you, a toothpick through the middle keeps everything snug as it fries.
- Set up your dipping station:
- Shallow bowls work best—one with your egg mixture, one with the seasoned breadcrumbs. This keeps your hands less messy and gives you more control.
- Coat each bite:
- Dip the cheese-wrapped pickle into the egg, let excess drip off, then roll gently but firmly in breadcrumbs. Press slightly so the coating actually adheres instead of just sitting on top.
- Heat your oil:
- Use a thermometer; 350°F is hot enough to crisp the outside while the cheese melts through, but not so hot that the outside burns before the inside heats.
- Fry in batches:
- Don't crowd the skillet—give each bite room to brown evenly. Flip them occasionally and pull them out when they're golden brown, which takes about two to three minutes per batch.
- Drain and serve:
- A paper towel-lined plate soaks up excess oil instantly. Pull out the toothpicks while they're still warm, then serve immediately while everything is still hot and crispy.
 Pin it
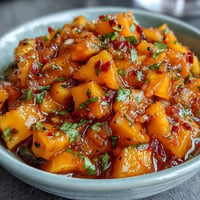
 I learned the hard way that patience matters here: rushing through the drying step or crowding the pan teaches you quickly why people fall quiet and just eat when these hit the table. There's something almost meditative about standing over the skillet, watching each one turn golden, knowing you're moments away from that perfect combination.
The Dipping Sauce Decision
Ranch hides the subtle flavors, spicy mayo brings a kick that makes sense with the dill, and marinara is oddly comforting. My secret move is keeping three small bowls nearby at parties and watching what people choose; it tells you a lot about how they like their snacks. The pickle flavor is strong enough to stand alone if someone wants it that way.
Cheese and Pickle Combinations to Try
Cheddar and spicy pickles create this interesting heat that builds as you eat, while pepper jack takes that spice one step further. Provolone feels slightly fancier and plays well with the dill's herbal note. I've even used sharp white cheddar with dill pickle spears and watched people immediately ask for the recipe.
Making Them Work Your Way
If deep-frying feels like too much, the oven method works perfectly fine—just spray them with a little oil, bake at 425°F for twelve to fifteen minutes, and flip halfway through. The texture is slightly less shatteringly crispy but still satisfying. You lose nothing by going this route except the theatrical sizzle and the smell that fills your whole house.
- Make them a few hours ahead and reheat gently in a 300°F oven for five minutes to restore crispiness.
- Swap in any firm melting cheese you have in your fridge; the worst that happens is you discover a new favorite combination.
- If you're serving a crowd, double the batch because one round is never enough.
 Pin it
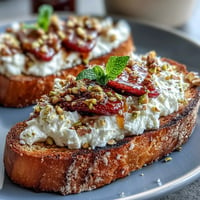
 These crispy chickle bites are the kind of snack that makes people forget their phones exist for a few minutes. Make them, watch them disappear, and enjoy the quiet satisfaction of having created something genuinely crave-worthy.
Recipe FAQ
- → What type of cheese works best for Chickle Bites?
Mozzarella provides a creamy melt, but cheddar, provolone, or pepper jack are excellent alternatives based on your taste preference.
- → Can I bake the bites instead of frying?
Yes, bake on a parchment-lined sheet at 425°F (220°C) for 12–15 minutes, flipping once until crisp and golden.
- → How do I ensure the bites stay crispy?
Pat pickle spears dry before wrapping and fry at 350°F (175°C) to achieve a crispy exterior without sogginess.
- → Are these bites gluten-free?
Using gluten-free panko breadcrumbs keeps this snack gluten-free. Regular breadcrumbs contain gluten.
- → What dipping sauces pair well with these bites?
Ranch, spicy mayo, or marinara sauces complement the tangy and savory flavors perfectly.
- → Can I add extra spices to the coating?
Absolutely! Garlic powder, smoked paprika, and black pepper add smoky and savory notes, but you can adjust spices to your liking.