 Pin it
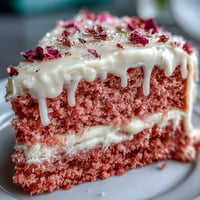
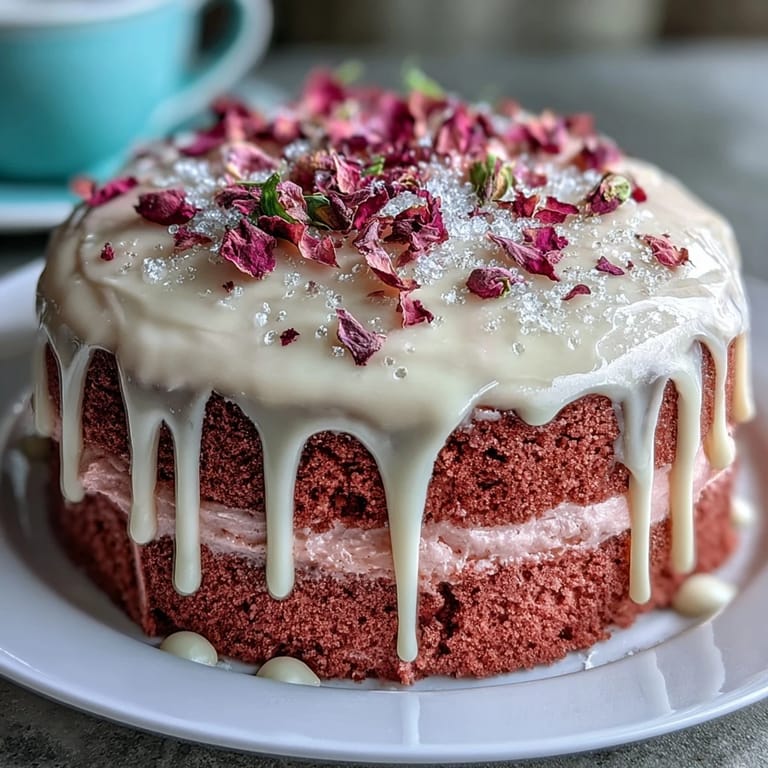
 Pink velvet isn’t something that started out in my baking vocabulary, but the allure of rosé—its blushing hue and gentle fizz—had me brainstorming ways to bring it into cake form one spring afternoon. My kitchen glowed with early light the day I first swirled rose-tinted batter, and the scent of vanilla and wine mingled in the air. Sometimes a recipe is born from equal parts curiosity and a nudge to make something that feels unmistakably celebratory. It was the golden shimmer coating the edges that made me grin—more glam than I usually go for, but this occasion called for sparkle. If you’re looking to dazzle and delight, this cake does it with cheerful suspense from first sight to final bite.
I first baked this cake for my friend Cara’s bridal shower, surrounded by teacups, lipstick-stained napkins, and bursts of laughter over old stories. We debated whether to go big on the gold or keep it subtle, and the collective vote went toward full dazzle—each drip painted by hand while friends hovered nearby, eager for the final reveal. The steady hum of my stand mixer was almost drowned out by the playlist of silly love songs in the background. Stepping back, seeing the blush-pink layers and that metallic crown, someone joked it looked too perfect to slice. Of course, we sliced anyway, forks clinking, the moment a little more golden than usual.
Ingredients
- All-purpose flour: Sifted for a delicate crumb: measure carefully to avoid a dense cake.
- Granulated sugar: Balances the mild tang of buttermilk and the perfume of rosé for a just-sweet-enough bite.
- Baking soda: Ensures a lofty, tender rise—don't be tempted to swap for baking powder here.
- Fine salt: A pinch sharpens the cake's sweet, floral notes.
- Cocoa powder (unsweetened): Just enough for depth and warmth, not a chocolate flavor—a classic velvet cake secret.
- Vegetable oil: Makes the layers super-moist and keeps the crumb soft for days.
- Eggs: Room temperature eggs incorporate smoothly for a plush texture.
- Buttermilk: Its creamy tang is irreplaceable; don't use regular milk in this cake.
- Rosé wine: Use your favorite bottle (nothing too sweet)—dry or sparkling both work, and the flavor does peek through.
- Vanilla extract: Rounds out all the floral and berry notes.
- White vinegar: Gives that signature velvet crumb and works as a gentle leaven with baking soda.
- Pink or rose gel food coloring: Gel ensures vivid color without thinning your batter—start with a tiny dab.
- Unsalted butter: Room temperature for ultra-fluffy buttercream; allow a generous beating for lightness.
- Powdered sugar: Sifted for smoothness; add slowly to avoid sugar clouds or lumps.
- Heavy cream: Makes the white chocolate for the drip luxuriously glossy.
- White chocolate chips: Melt gently to prevent seizing; work quickly once combined with cream.
- Edible gold luster dust: Triple-check the label—only edible luster dust is safe for decorating food.
- Vodka or clear lemon extract: These evaporate fast, leaving only shimmer behind when mixed with gold dust.
- Optional: Edible rose petals or fresh berries: For a pretty finish that echoes the cake’s rosy theme.
Tired of Takeout? 🥡
Get 10 meals you can make faster than delivery arrives. Seriously.
One email. No spam. Unsubscribe anytime.
Instructions
- Prepare the pans:
- Grease and line three 8-inch cake pans with parchment, and preheat your oven to 350°F—the ritual first step for evenly baked layers.
- Mix dry ingredients:
- Sift flour, sugar, baking soda, salt, and cocoa into a large bowl, pausing as the scent of cocoa blooms—a gentle reminder to whisk out all the lumps.
- Blend wet ingredients:
- Whisk together oil, eggs, buttermilk, rosé wine, vanilla, and vinegar in a second bowl until homogenous, the color just slightly blushed from the wine.
- Combine and color:
- Fold wet into dry ingredients and stir just until you see no streaks; then swirl in pink gel coloring, adjusting to your perfect shade.
- Divide and bake:
- Pour the batter evenly into your prepared pans and bake 30–35 minutes; you’ll know they’re ready when the edges pull gently from the sides and a toothpick comes out with just a crumb or two.
- Cool the cakes:
- Let the layers cool in the pans for 10 minutes, then turn onto a rack to cool completely—they mustn’t be warm when frosting.
- Make the buttercream:
- Beat butter until it’s pale and fluffy, then add powdered sugar gradually, alternating with sips of rosé wine—taste and adjust for creamy, spreadable glory.
- Assemble and crumb coat:
- Level the cakes if needed, stack with layer after layer of buttercream, then smear a thin crumb coat all around and chill until set.
- Frost and chill:
- Spread the final coat of buttercream for a flawless finish, smoothing with a steady hand; refrigerate the whole cake for 20 minutes to prepare for the decorative finale.
- Make the drip:
- Melt white chocolate chips with cream in bursts until glossy, then let cool just enough to thicken slightly—this helps control the drips around the cake’s edge.
- Apply gold drip:
- Drizzle cooled white chocolate over the edge so it puddles in slow, neat drips, then paint with edible gold once set for that dazzling finish.
- Decorate:
- Scatter on petals, berries, or more gold, and take a moment to admire your masterpiece before the first cut.
 Pin it
  Pin it
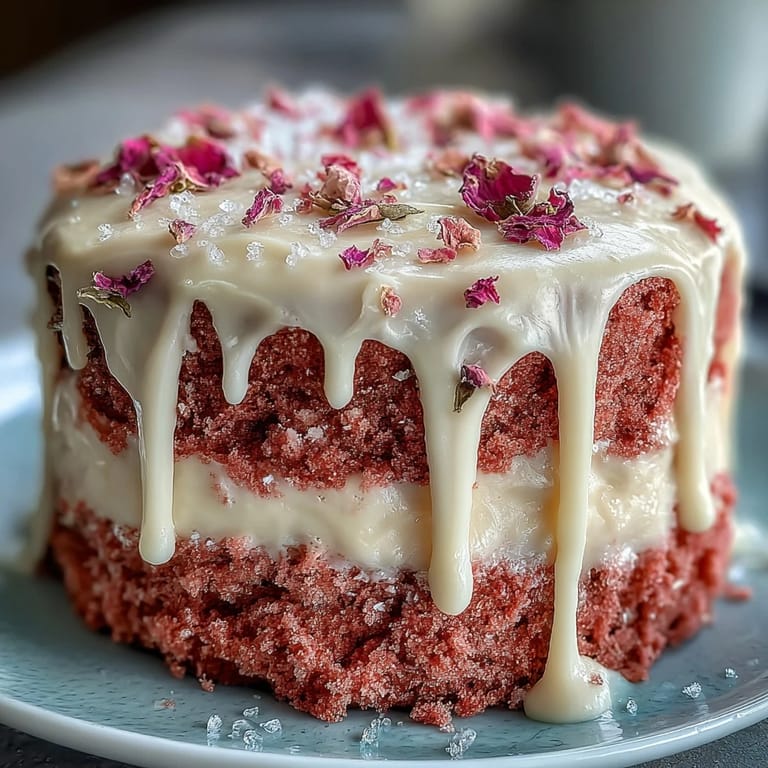
 During cleanup after the shower, a thin trail of gold shimmer lingered across the table, and there were crumbs where folks had snuck an extra bite, long after dessert. That’s the lasting mark of a cake that’s more experience than recipe—something about pink layers and edible gold encourages everyone to lean in for just a little more celebration.
How to Choose the Right Rosé
Not all rosés work the same magic; my favorite results came from dry, crisp bottles that didn’t overpower with sweetness. If you have a sparkling rosé on hand, the effervescence adds a fun lift, but any subtle, well-balanced pink wine makes the cake sing.
Gold Drip Tricks for Showstopper Cakes
The secret to a flawless gold drip is letting your melted chocolate cool long enough so it’s barely warm—otherwise you’ll get messy streaks that race down the cake instead of elegant drips. Stir in the cream just before melting, and use a small spoon to nudge the chocolate over the edges for control.
What I Learned from Baking for Brides
Baking a cake for a crowd, especially with the high stakes of a bridal shower, taught me to embrace charm over perfection—small hiccups (like a slightly lopsided drip) always get forgiven in a room full of friends.
- Chill your bowl and beater for extra fluffy buttercream on warmer days.
- A steady hand (and deep breath) makes painting the gold drip feel less intimidating.
- Use parchment rounds for cleaner cake removal—you’ll thank yourself later.
 Pin it
  Pin it
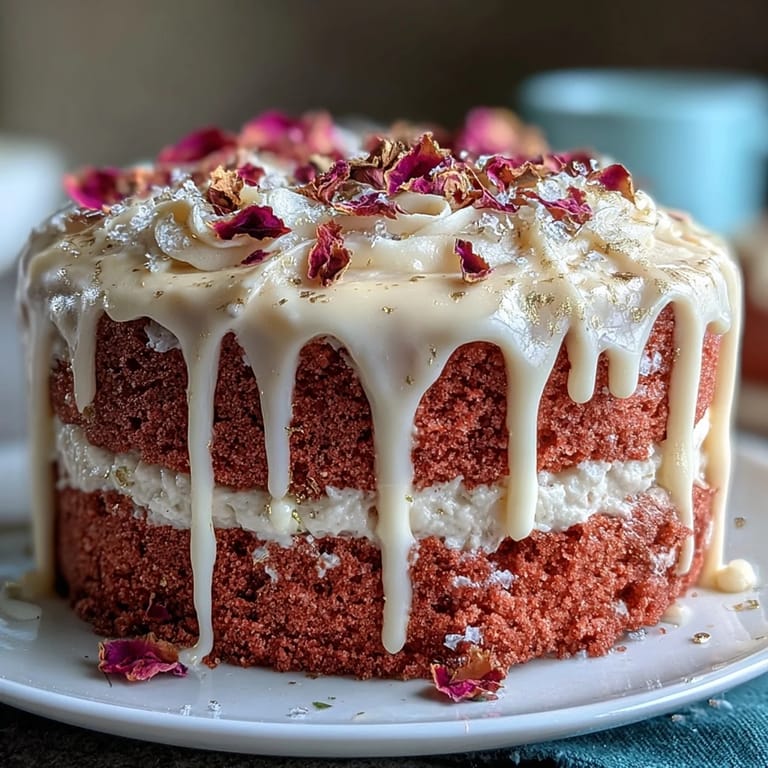
 I hope this blush-hued cake brings joy and a hint of sparkle to your table, no matter who you’re celebrating. Every time I make it, I find another reason to linger over that last gilded crumb.
Recipe FAQ
- → What type of rosé works best?
Choose a dry or lightly sparkling rosé for subtle floral and fruit notes; avoid overly sweet bottles that can make the frosting too sweet. Use drinking-quality rosé for the buttercream and a splash in the batter.
- → How do I get a vibrant pink crumb?
Use gel food coloring to build a concentrated shade without adding liquid. Start with a small amount and gradually increase until you reach the desired blush tone to avoid thinning the batter.
- → How do I prevent the gold drip from running too far?
Cool the white chocolate drip slightly until thick but pourable, and apply it to a chilled cake with a set crumb coat. Work slowly and use a squeeze bottle or spoon to control drip length.
- → Can I make the layers ahead of time?
Yes. Bake and cool the layers fully, wrap them tightly and refrigerate up to 24 hours or freeze for longer. Thaw in the refrigerator then bring to room temperature before frosting for best texture.
- → What white chocolate should I use for the drip?
Use high-quality white chocolate or couverture for a smooth set. If needed, add a little cream to reach a pourable consistency and mix gold luster dust with food-grade clear alcohol or extract for painting.
- → How do I avoid a greasy or heavy buttercream?
Beat butter until very light and fluffy before adding powdered sugar in stages. Incorporate rosé gradually to preserve structure and adjust with more sugar or a touch of cream to reach the right spreading consistency.