 Pin it
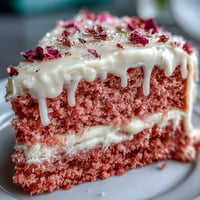
 My cousin called me in a panic three days before her graduation party—she'd promised a cake but had no idea where to start. I walked her through this vanilla sheet cake while she mixed in her kitchen, and by the time we hung up, she was laughing at how easy it turned out to be. There's something about watching someone discover they can bake that makes you want to celebrate right alongside them. This cake became the star of that afternoon, and honestly, it's been my go-to for every milestone since.
I'll never forget the moment my friend's daughter saw her graduation cake at the party—her eyes lit up like she'd won the lottery, and suddenly everyone wanted to know who made it. Watching people gather around a homemade cake you created, swapping forks and complimenting each other's bites, is when you realize food is really just an excuse to celebrate together.
Ingredients
- All-purpose flour (3 cups): The foundation of a tender crumb—sifting it first prevents lumps and gives you a finer texture.
- Baking powder and baking soda (2½ tsp and ½ tsp): These create the lift that makes the cake fluffy and light, not dense like pound cake.
- Salt (½ tsp): A small amount amplifies all the vanilla flavors without tasting salty itself.
- Unsalted butter, room temperature (1 cup for cake): Cold butter won't cream properly, so let it sit out for an hour—this step is worth the wait.
- Granulated sugar (2 cups): The sweetness and structure that gives the cake its tender crumb when beaten with butter.
- Eggs, room temperature (4 large): Room temperature eggs blend smoothly into the batter, creating a more uniform texture.
- Vanilla extract (1 tbsp): Use real vanilla, not imitation—the difference is noticeable and worth it.
- Whole milk, room temperature (1½ cups): Milk keeps the crumb moist and tender; use whole milk for the richest flavor.
- Powdered sugar, sifted (4 cups): Sifting prevents lumps in your frosting and gives you that smooth, cloud-like texture.
- Unsalted butter for frosting (1 cup): Fresh, creamy butter is essential here—it's what makes frosting taste like butter, not grease.
- Milk for frosting (¼ cup): This loosens the buttercream to a spreadable consistency without making it greasy.
- Graduation-themed sprinkles or edible decorations: This is where personality comes in—pick decorations that match the school colors or mean something special.
Tired of Takeout? 🥡
Get 10 meals you can make faster than delivery arrives. Seriously.
One email. No spam. Unsubscribe anytime.
Instructions
- Prepare your pan and preheat:
- Set your oven to 350°F and grease that half-sheet pan thoroughly, then line it with parchment paper so the cake lifts out without sticking. This step takes two minutes and saves you a lot of frustration.
- Mix your dry ingredients:
- Whisk flour, baking powder, baking soda, and salt together in a medium bowl—this distributes the leavening agents evenly so your cake rises uniformly. Set it aside and don't skip the whisking; it's easier than sifting and does the job.
- Cream butter and sugar:
- Beat softened butter and sugar together for about three minutes until it looks pale and fluffy, almost like wet sand that's been sun-warmed. This step incorporates air into the batter, which is what makes the cake light instead of heavy.
- Add eggs and vanilla:
- Add eggs one at a time, beating well after each addition so they fully incorporate before the next one goes in. Once all eggs are mixed, add vanilla extract and beat until smooth.
- Alternate dry and wet ingredients:
- Add half the flour mixture, mix gently on low speed, then pour in half the milk and mix just until combined. Repeat with the remaining flour and milk—overmixing at this stage toughens the cake, so stop as soon as everything is combined.
- Bake:
- Spread the batter evenly into your prepared pan and bake for 28-32 minutes, until a toothpick inserted in the center comes out clean or with just a few moist crumbs. The top should be light golden and spring back when you lightly touch it.
- Cool completely:
- Let the cake cool in the pan on a wire rack for at least an hour before frosting—if you frost it warm, the buttercream will melt and slide right off. Patience here pays off.
- Make the buttercream:
- Beat softened butter for about two minutes until it's creamy, then gradually add sifted powdered sugar while mixing on low speed to avoid a cloud of sugar everywhere. Add vanilla, milk, and a pinch of salt, then beat on high for 2-3 minutes until fluffy and light.
- Frost and decorate:
- Spread buttercream evenly over your cooled cake using a spatula—an offset spatula makes this easier, but a regular one works fine. Top with graduation sprinkles or edible decorations while the frosting is still soft so they stick.
 Pin it
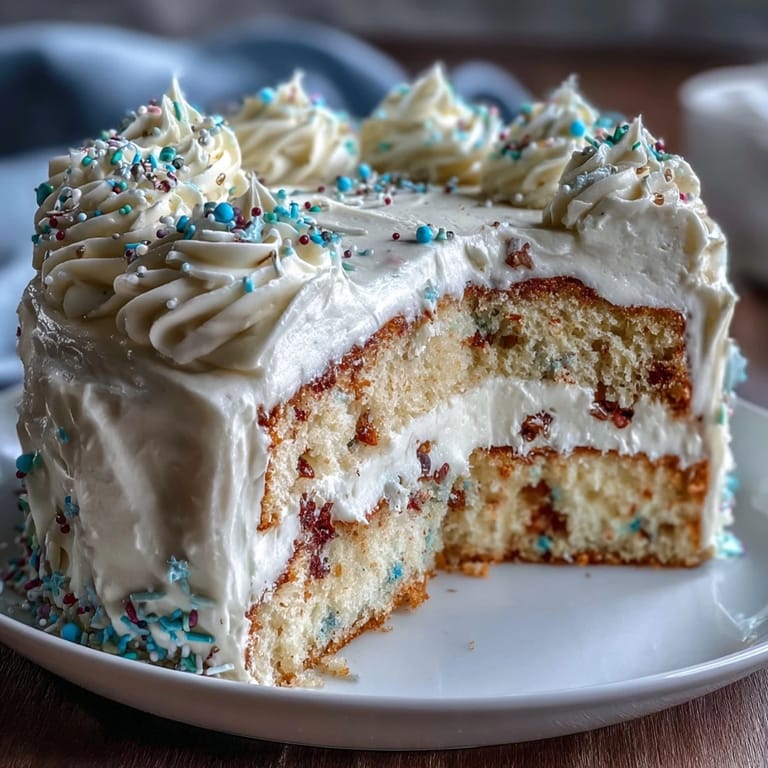
 The best part about this cake isn't even the taste—it's the way it brings people together at a moment worth celebrating. Whether it's graduation, a birthday, or just a Tuesday that needs something special, this cake shows up and does the job beautifully.
Why This Cake Works for Crowds
Sheet cakes are unsung heroes of celebration baking because they feed twenty-four people without requiring you to stand over a stove for hours. The rectangular shape fits perfectly on any table, slices cleanly, and transports easily to parties—I've driven this cake across town more than once without a single crack. Plus, vanilla is the people-pleaser that never goes out of style; while fancy flavors come and go, everyone always makes room for a slice of good vanilla cake.
Flavor Variations and Personal Touches
Once you've mastered the basic recipe, you can play with it in ways that feel personal to the celebration. I've added ½ teaspoon of almond extract to the batter for a subtle richness that makes people ask what that delicious flavor is, or swapped in lemon zest for a bright spring version. The buttercream takes color beautifully, so you can tint it with gel food coloring to match school colors, team colors, or whatever makes the moment special—I once did a two-tone frosting for twins graduating together, and it was a hit.
Storage and Make-Ahead Tips
This cake is forgiving about timing, which is one reason I keep coming back to it when life gets hectic. You can bake it the day before, wrap it tightly in plastic wrap, and frost it the next morning without any quality loss—the crumb actually becomes more tender overnight. If you need to make it several days ahead, freeze the unfrosted cake for up to two weeks, then thaw it, frost it, and decorate right before the party.
- Leftovers keep covered at room temperature for one day, or refrigerated for up to four days—though they rarely last that long.
- If you're making it for a hot summer celebration, refrigerate the frosted cake for an hour before serving so the buttercream stays firm and doesn't get too soft.
- Individual slices freeze beautifully in an airtight container for up to three months, perfect for surprising someone on their actual birthday after the party's over.
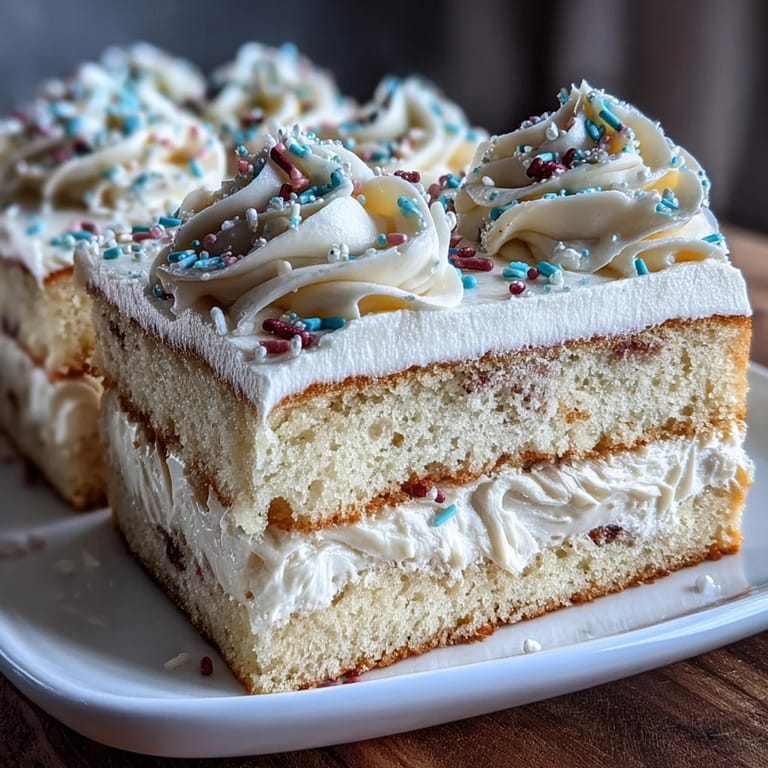
 Pin it
 Make this cake, share it, and watch how something so simple can turn an ordinary day into a memory. That's the magic of baking for people you care about.
Recipe FAQ
- → What pan size is best for this sheet?
A 12x18-inch half-sheet pan is ideal to ensure even baking and proper thickness.
- → Can I add different flavors to the vanilla base?
Yes, adding ½ tsp almond extract enhances the flavor without overpowering the vanilla.
- → How long should the cake cool before frosting?
Allow the cake to cool completely on a wire rack to prevent melting the buttercream.
- → Is it possible to make this suitable for gluten-free diets?
Substitute all-purpose flour with a 1:1 gluten-free baking blend for a safe alternative.
- → What tools are needed for decorating?
Use piping bags for decorative writing or borders along with sprinkles or edible decorations.
- → How should leftovers be stored?
Cover leftovers at room temperature for a day or refrigerate for up to four days to maintain freshness.